
THE FIELD GUIDE / GUIDE
Deep Dish Dungeon Walkthrough: From Camp to the Seed
From the first camp, reach the hub and Hammer, find the Prison Key, clear the spider prison, then use the sewer and crypt routes to gather four Gems and reach the Seed of Life. This route follows player guides from October 2026; their exact game builds and platforms are not specified.
1. Reach the hub and find the Hammer
At the first camp, eat the available food and climb the pillars to the door above the ledge. In the skeleton room, climb the board and take the Small Key from the chest on the right; unlock the door beyond the skeletons to reach the hub.
Set the hub sleeping bag as a respawn point. At the hub water area, use the valve and open the hatch into the sewers. Follow the water-control route, swimming onward and crouching along the pipes at the far end to reach the Hammer.
2. Open the basement and find the Prison Key
Return to the hub and use the Hammer on the bars down the basement stairs. Follow the opening to the forge, make an Iron Key, and explore the room it unlocks; the Prison Key is in a chest farther inside.
The forge and its molds also open the Jaguar door for the Silver Dagger. Keep the Prison Key distinct from the Small Key needed on the upper route.
3. Open the prison and claim the Tomato Gem
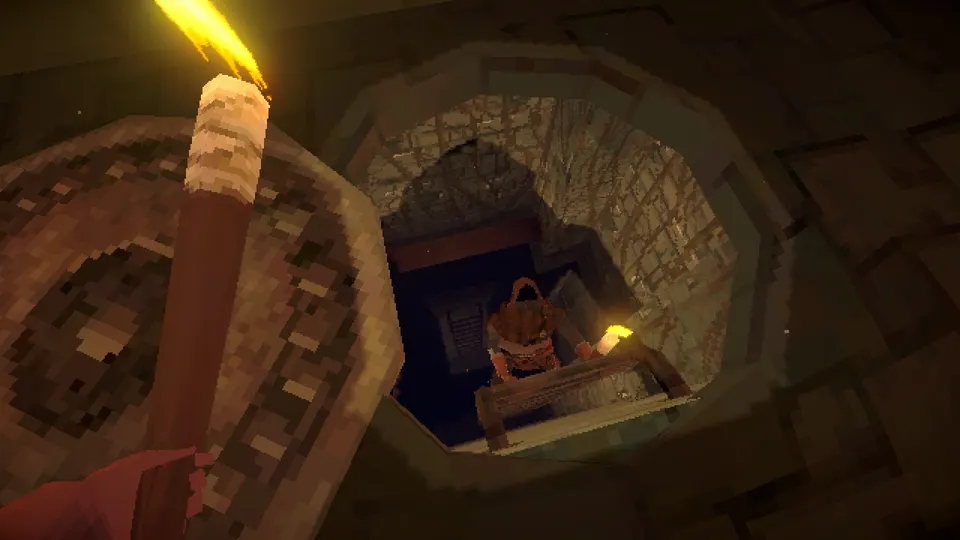
From the hub stairs, find the Small Key at the end of the left passage. Unlock the upper door behind the stairs, go down the unflooded spiral staircase, burn the webs with a torch and use the Prison Key.
This is the Pickaxe pickup in the documented route. The official 1.0.51.0 notes also add a Workbench recipe for the Pickaxe; the patch notes do not list its ingredients.
- Repair the first broken lever with an Iron Rod and pass through its door. Search the cells and take the Pickaxe from the lower route.
- Climb the rope into the webbed cave for Chains. Repair the mechanism beside the three-lever door, then operate the three levers.
- In the next lift room, move the fuse switches from the accessible cells into the ground-floor fuse box in turn. Use the upper cell and fallen pillar to climb onward.
- Defeat the Giant Spider beyond the lift room and collect the Tomato Gem.
Distinguish the two broken mechanisms · Open the three-lever spider-room door
4. Work through the sewers for the Guarana Gem
Back in the hub sewers, use the Pickaxe on the Goo Pile to the left and open the hatch. A Harpoon is in the chest just inside; the valve above the nearby ladder drains the slime corridor.
- Use the Grappling Hook above the route near the Harpoon chest, climb the ladders and operate the water valves. Restore the water where needed to continue past the barred section.
- Return toward the Harpoon chest, clear the Goo Pile on the left and operate the next valve. Beyond the sleeping bag, use the valve above the bridge and open the hatch in the drained area.
- Cross the bridge and use the lever at the far end of the section with rising and falling water. Repair the boat lever and mechanism with an Iron Rod and Chains.
- Use the boat to retrieve two fuse switches and bring them back to the fuse box. With the switches in the middle position, take the boat again and enter the passage on the right.
- Carry the watergate handle to the far gate, operate it and continue through the lowered water. In the eel arena, turn the four valves and attack the Giant Eel while the water is drained; collect the Guarana Gem.
5. Take the mine route to the Axe and Bean Gem
At the sewer fuse box, set the switches up and take the boat through the upper route into the mine. Follow the incline and unlock the large door back to the hub as a shortcut.
Enter the crypt near that door. A cave reached from a side passage on the spiral staircase holds the Axe; use it on roots blocking routes. Continue down through the crypt and sliding doors to the Bean Gem at the bottom. Beyond it is the optional six-statue puzzle and Crystal Egg.
6. Explore the dining hall for the Corn Gem
From the upper hub door, take the spiral stairs up to the dining hall. The Corn Gem is in the upper food-area route; the player treasure guide identifies an Axe and Grappling Hook as useful for reaching the chest behind the archer.
The long table and golden door in this hall are a separate three-dish puzzle. Open it for the Queen Crown if you are also pursuing treasure returns.
7. Offer the pizza and reach the Seed
From the hub’s upper floor, use the Grappling Hook at the gap above the large front door and unlock the door from the other side. Take the upper-left doorway, use explosives on the boulder, and operate the lever by the ground-floor fountain. Beyond the fountain, place the Tomato, Guarana, Bean and Corn Gems on the four statues.
Enter the opened room with a cooked Deep Dish Pizza, put it on the offering plate and push the stand while fighting the skeletons. When the floor lowers, interact with the Seed of Life. The separate secret-ending route involves returning treasures and reaching the hidden room by the eel arena.
Complete the sanctuary stand and offering · See the final objective and secret-ending checklist
Use this as a route, not a fixed order
The dungeon branches and reconnects. These stages describe a documented route through the main objective; the detailed pages linked beside each obstacle expand the relevant action. The walkthrough does not require the optional Crystal Egg or Queen Crown for the Seed sequence.